Photographing the International Space Station (ISS) as it streaks across the night sky is a bucket-list achievement for many astrophotographers. But what if you could do it with a lens salvaged from a thrift store for just $15? That's exactly what YouTuber [saveitforparts] set out to prove, turning a dusty bargain-bin lens into a tool for orbital photography. In this article, we break down the key lessons from that experiment into seven actionable things you need to know—from finding cheap vintage glass to timing your shot with precision. Whether you're a seasoned stargazer or a curious beginner, these insights will help you aim high without breaking the bank. Let's dive in.
1. The Challenge: Why ISS Photography Isn't Point-and-Shoot
Capturing the ISS with any equipment is tough, but doing it with a $15 thrift store lens adds a whole new layer of difficulty. The station orbits at an altitude of roughly 250 miles and zips along at 17,500 mph. At ground level, it appears as a bright, fast-moving star—but getting a recognizable image requires precision focusing, stable tracking, and enough focal length to magnify a tiny speck. Unlike static celestial objects, the ISS doesn't sit still for long exposures. A typical pass lasts only a few minutes, and even slight camera shake can ruin the shot. [saveitforparts] knew this from the start, but he embraced the challenge, proving that determination—and a clever setup—can sometimes beat expensive gear.
2. The Thrift Store Find: A 400mm Sigma Lens for $15
The heart of the rig was a Sigma XQ 400mm f/5.6 telephoto lens paired with a 2x teleconverter, all bought secondhand for just $14.99. Vintage manual-focus lenses like this were originally designed for film SLRs, and they're often overlooked by modern digital shooters. But thanks to affordable adapters, they can live on with mirrorless cameras. The 400mm focal length (effectively 800mm with the teleconverter) provides serious reach without a serious price tag. However, flaws like lower contrast, chromatic aberration, and a slow aperture make things harder. [saveitforparts] found that the lens still delivered usable images—proof that old glass can hold its own in the digital age, as long as you work around its quirks.
3. The Camera Body: Adapting a Sony NEX-3 for Astrophotography
To marry vintage glass with modern technology, [saveitforparts] used a Sony NEX-3 mirrorless camera. Its short flange distance and interchangeable lens mounts make it ideal for adapting older lenses via a simple ring. The NEX-3's APS-C sensor and manual controls gave him full creative control, though the camera lacks advanced features like in-body stabilization or live view zoom that would simplify focusing. Still, the combination worked: the lens attached via an adapter, and the whole setup was surprisingly compact. The lens even came with its own tripod collar—a bonus that made it easy to balance on a standard head. For budget astrophotography, a mirrorless body paired with a vintage telephoto lens is a winning combo.
4. Tracking and Timing: How to Predict the ISS Pass
Knowing exactly when and where to look is critical. [saveitforparts] used N2YO.com, a free satellite tracking service, to pinpoint the ISS's trajectory over his location. The site provides real-time data, including pass start and end times, maximum elevation, and direction. For a successful shot, you need a pass with the station reaching at least 30-40 degrees above the horizon—lower passes are harder to track and more obscured by atmospheric haze. [saveitforparts] also rigged a simple sighting aid: a red-dot finder or even a straw taped to the camera can help you aim manually. With practice, you can follow the ISS as it glides across the sky, firing the shutter at the right moment. Patience pays off—he nailed the timing on his first try.
5. The Result: Capturing the ISS as a White Dot
So, what did the final image look like? [saveitforparts] managed to record the ISS as a small, bright white dot streaking across a dark frame. It's undeniably the station—you can confirm by comparing its path with the predicted track—but it's hardly a detailed portrait. At this focal length, the ISS is just a few pixels wide, too tiny to reveal its solar panels or module structure. The blur was also an issue: despite using a tripod, the fast motion and slight camera shake introduced motion blur. To improve, you'd need a tracking mount or a shorter exposure. Still, capturing a recognizable dot from a $15 lens is an impressive feat. It shows that even with minimal investment, you can touch the stars—if only with a tiny point of light.

6. Alternative Attempts: Camcorders and Solar Transits
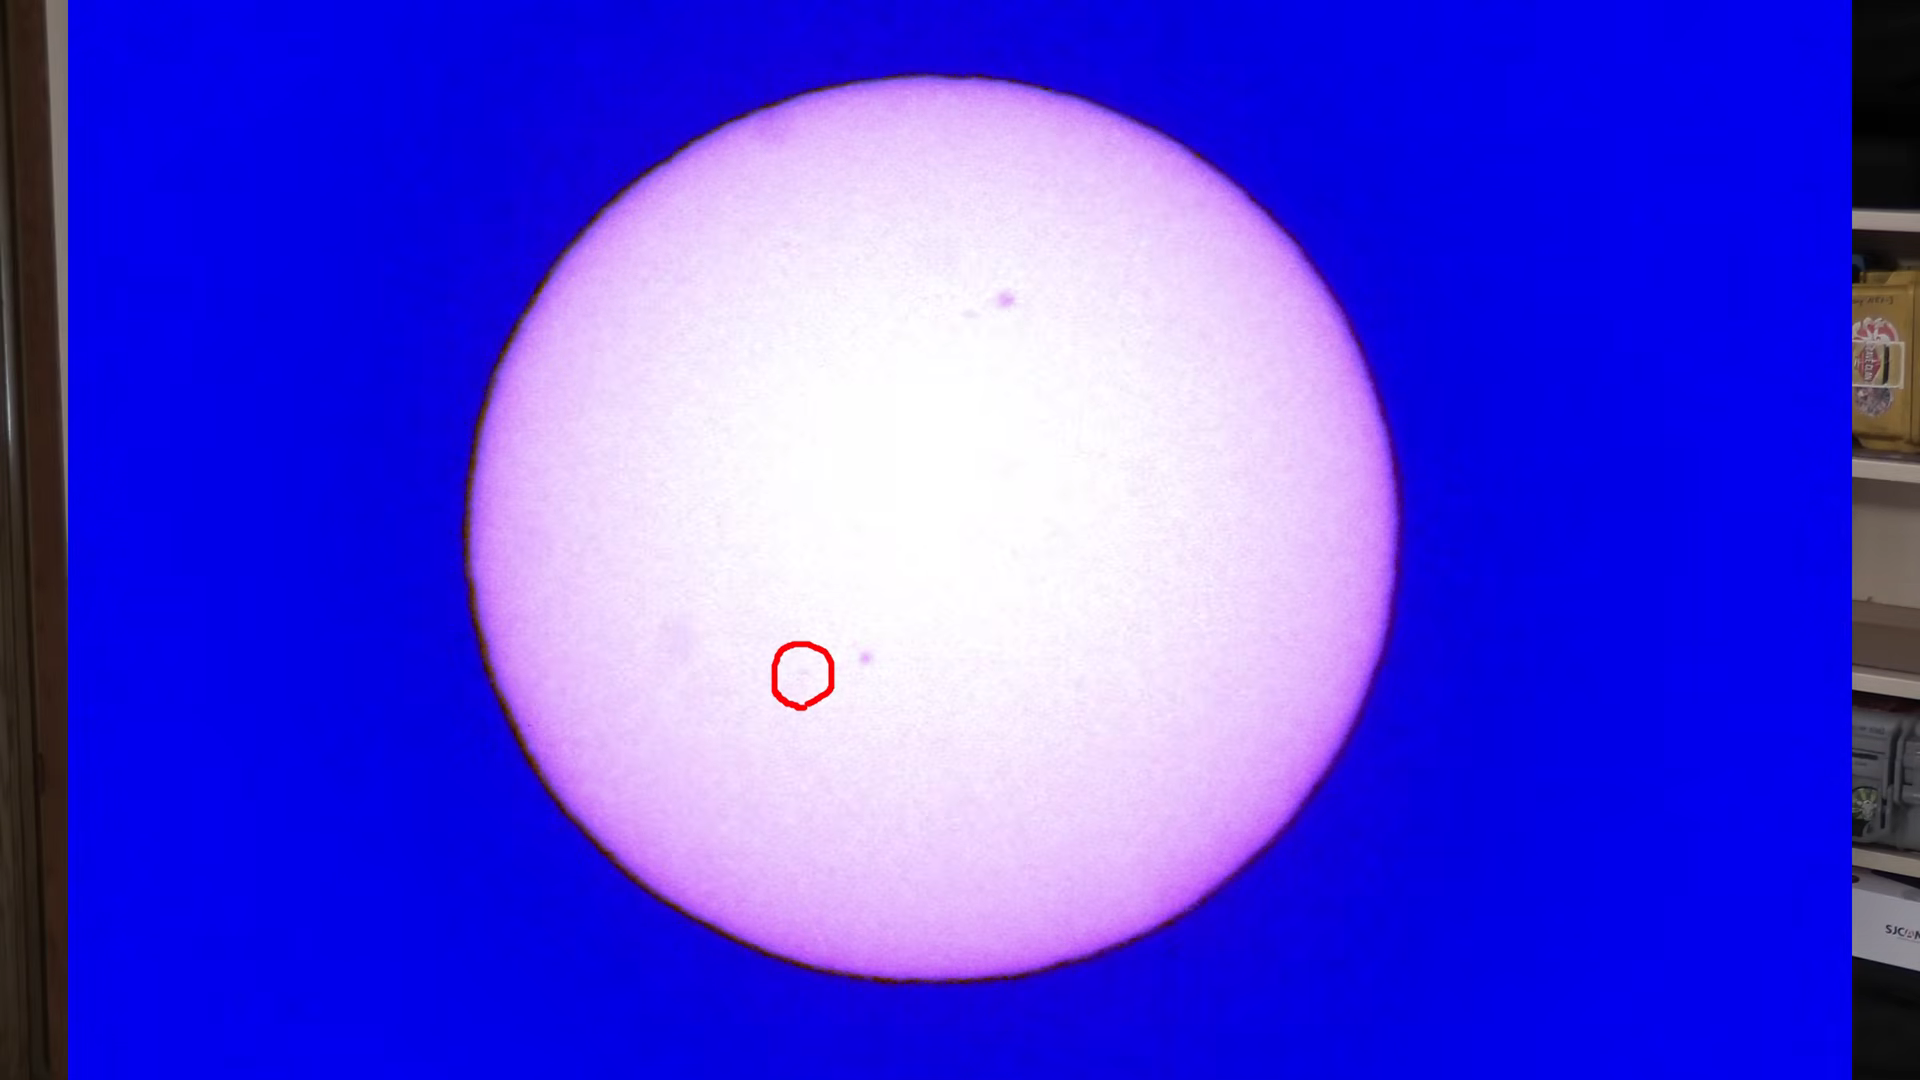
Not content with one success, [saveitforparts] repeated the experiment using a vintage Canon camcorder. The camcorder's built-in zoom and video capability offered a different approach, but the image remained “blobby” and lacked the crispness of the still photos. Video allows you to stack frames to reduce noise, but the camcorder's sensor and lens sacrificed detail. He also tried capturing solar transits—moments when the ISS crosses directly in front of the sun. This technique requires a solar filter and precise timing, but even then, the ISS appeared as a tiny black speck against the blazing disk. Each method underscores the same lesson: budget gear can get you the shot, but don't expect magazine-cover quality. The real reward is the chase itself.
7. Community and Fun: From Game Boy Cameras to Kodak Charmers
Part of the joy of DIY astrophotography is the creativity it inspires. The original article wryly notes that if you manage to capture the ISS with something truly ridiculous—like a Game Boy Camera or a Kodak Charmer—you are honor-bound to share it. The online community thrives on such experiments, pushing the boundaries of what's possible with everyday objects. [saveitforparts]'s project is just one example; we've seen others build tracking mounts from Arduino boards or use smartphone scopes. The key takeaway? You don't need a NASA budget to point a lens at the sky. Sometimes the most memorable photos come from the most unlikely gear. So grab whatever lens you can find, check the pass times, and start shooting. The ISS is waiting.
Conclusion
Photographing the International Space Station is a rewarding challenge that blends astronomy, photography, and a bit of thrift-store ingenuity. As we've seen, a $15 lens can indeed capture the ISS—as a dot, yes, but a dot that proves you reached beyond Earth's atmosphere. Whether you're a veteran astrophotographer or a curious tinkerer, remember that success isn't measured in megapixels or kit prices. It's about the satisfaction of seeing your hard work pay off in a tiny, moving speck. So head to your local thrift store, find an old telephoto lens, and give it a try. Who knows? You might just surprise yourself. And if you do, share your story—because in this hobby, every dot tells a story.